Last modified: Jan 10, 2023 By Alexander Williams
Django-TinyMCE: Install and Setup
In this article, we'll learn how to install and use TinyMCE Editor with Django Model.
1. What is TinyMCE?
TinyMCE is a modern WYSIWYG HTML editor, requires Django version 1.0 or higher.
2. Django-TinyMCE Editor installation
To install Django-TinyMCE, you need to follow the above command (pip command)
pip install django-tinymce
2. Now, add "tinymce" to INSTALLED_APPS in settings.py of your project.
INSTALLED_APPS = [
    .....
    'tinymce',
    .....

]
3. Add tinymce.urls to urls.py of your project.
....
path('tinymce/', include('tinymce.urls')),
....
4. Install the required packages
pip install Django django-tinymce
5. Finally, we need to migrate our project.
python manage.py migrate
Great! now, let's use TinyMCE with Django Admin interface.
3. Using Django-TinyMCE with Admin interface
First, we'll create a simple article model that has the title and content field.
models.py
from tinymce.models import HTMLField

class Articless(models.Model):
    title = models.CharField(max_length=300, null=True, blank=True)
    content = HTMLField()
    def __str__(self):
        return self.title
Let's now register our model in admin.py.
admin.py
admin.site.register(Articles)
Let's go to our model in the admin interface to see our content Editor.
admin interface
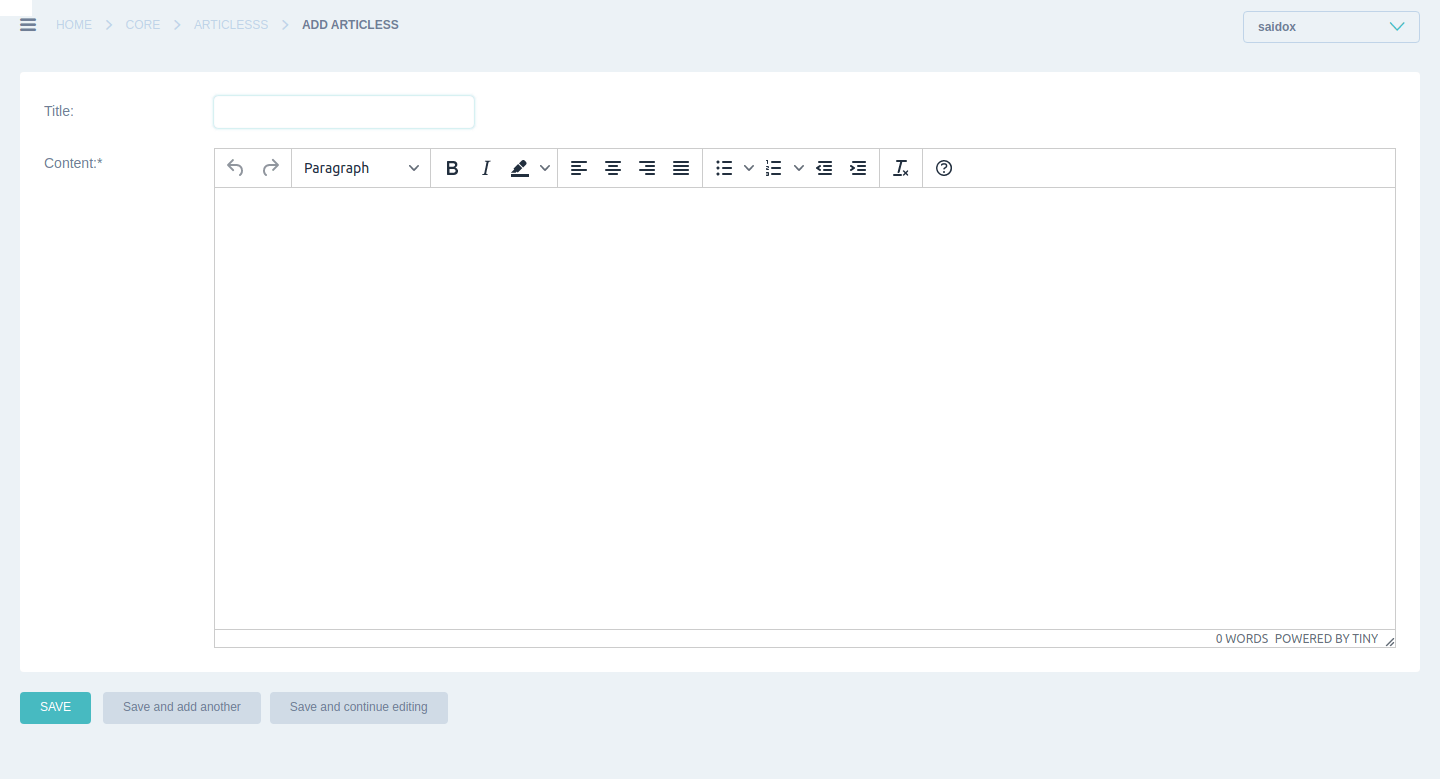
As you can see, the TinyMCE Editor works perfectly.
"if you want to have like my Django admin theme, visit this url How to Install and Set up Django Jet "
Let's see now, how to config our TinyMCE Editor.
As you know, TinyMCE has free & premium plugins, visit this link to see the plugins https://www.tiny.cloud/docs/plugins/
To add some plugins to your editor, you need to do something like this in your settings.py:
settings.py
TINYMCE_DEFAULT_CONFIG = {
    "plugins": "image", #plugins
}
In the above code, we've added the image plugin to our editor.
result
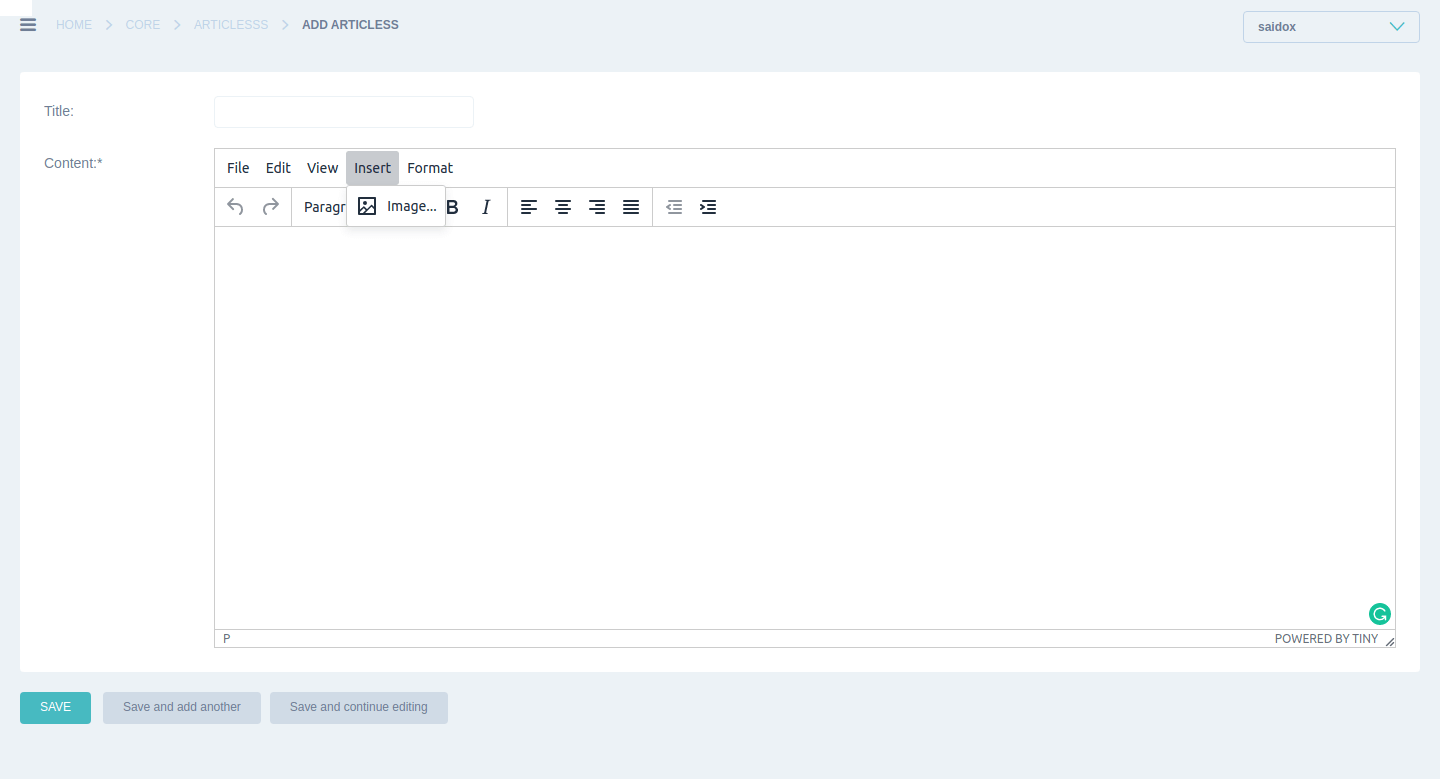
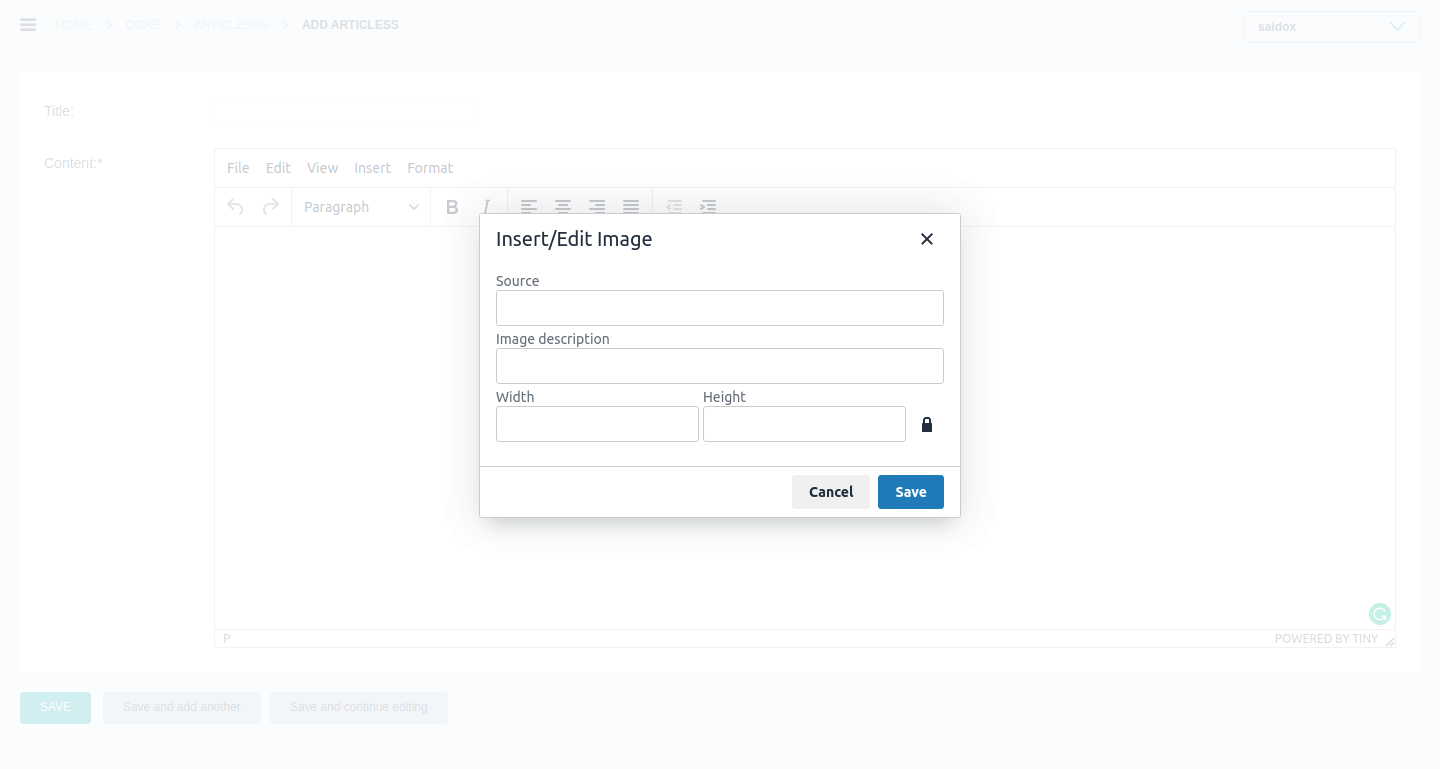
If you want to add multi plugins, add a comma between each plugin:
"plugins": "advlist,autolink,lists,link,image,charmap,print,preview,anchor,searchreplace,visualblocks,code,fullscreen,insertdatetime,media,table,paste,",# plugins
More configurations
TINYMCE_DEFAULT_CONFIG = {
    "plugins": "...",
    "toolbar":"undo redo | formatselect | image |", #toolbar
    "height": 500, #texteditor height

}
In the above code, we've added the toolbar and height of our editor.
4. Testing Our Django-TinyMCE Editor
To test our editor, let's create a DetailView for our Articles model to present detail of a single article.
View.py
In Django view you should do something like:
from django.views.generic import DetailView

#models.py
from .models import *


# Create your views here.


class TinyMceDetail(DetailView):
    model = Articless
    template_name  = 'TinyMceDetail.html'
    slug_field = 'pk'
TinyMceDetail.html
In TinyMceDetail.html add the bellow Code:
<!DOCTYPE html>
<html>
<head>
    <title></title>
</head>
<body>
{% autoescape off %}

    {{object.content}}

{% endautoescape %}
</body>
</html>
Now, let's add an article and see the result.
Adding an article:
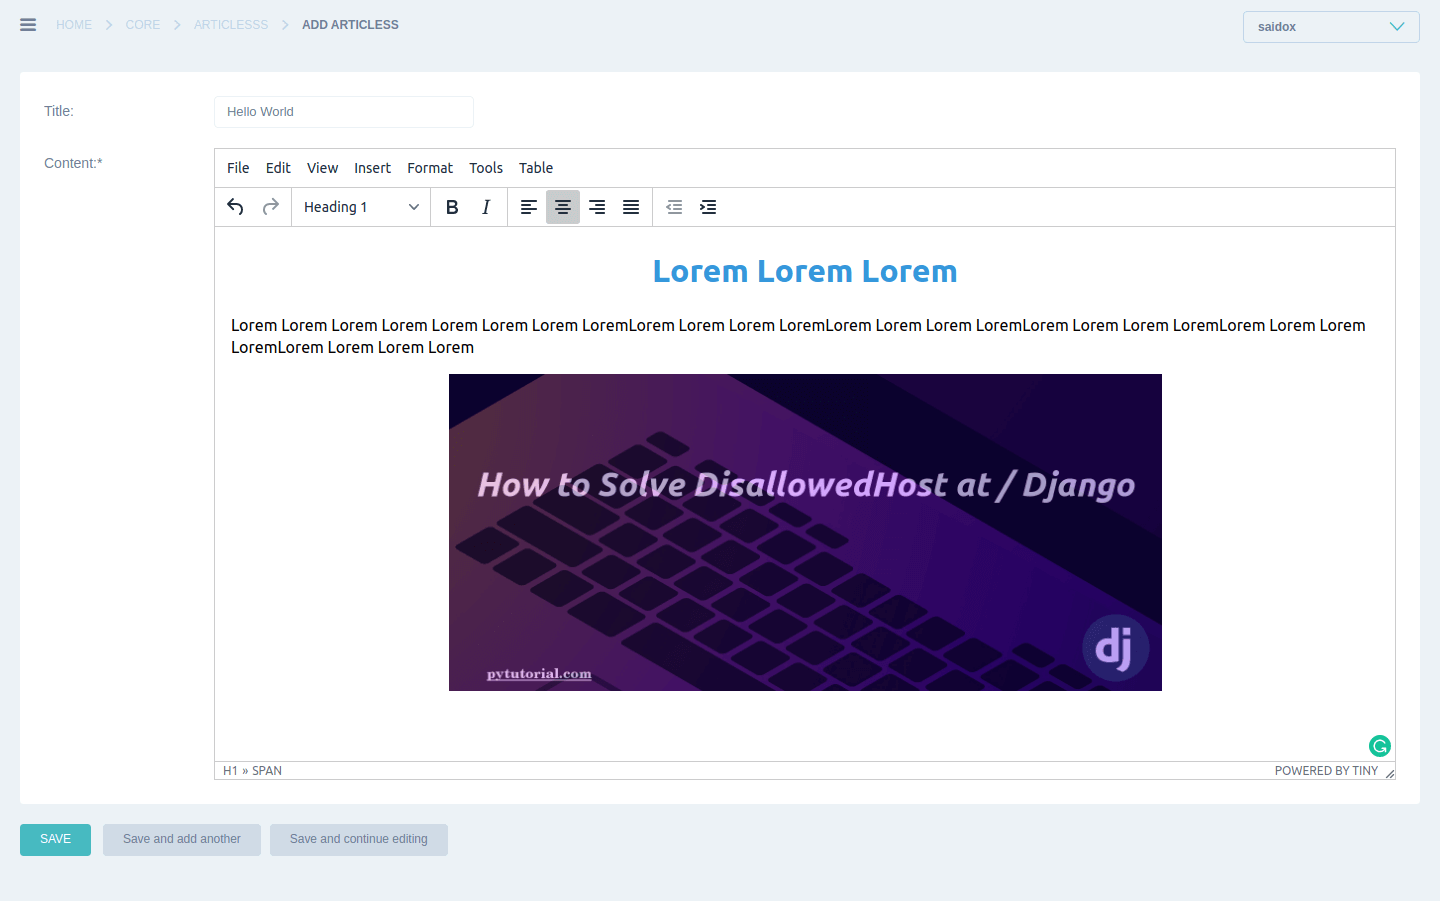
Article page Result:
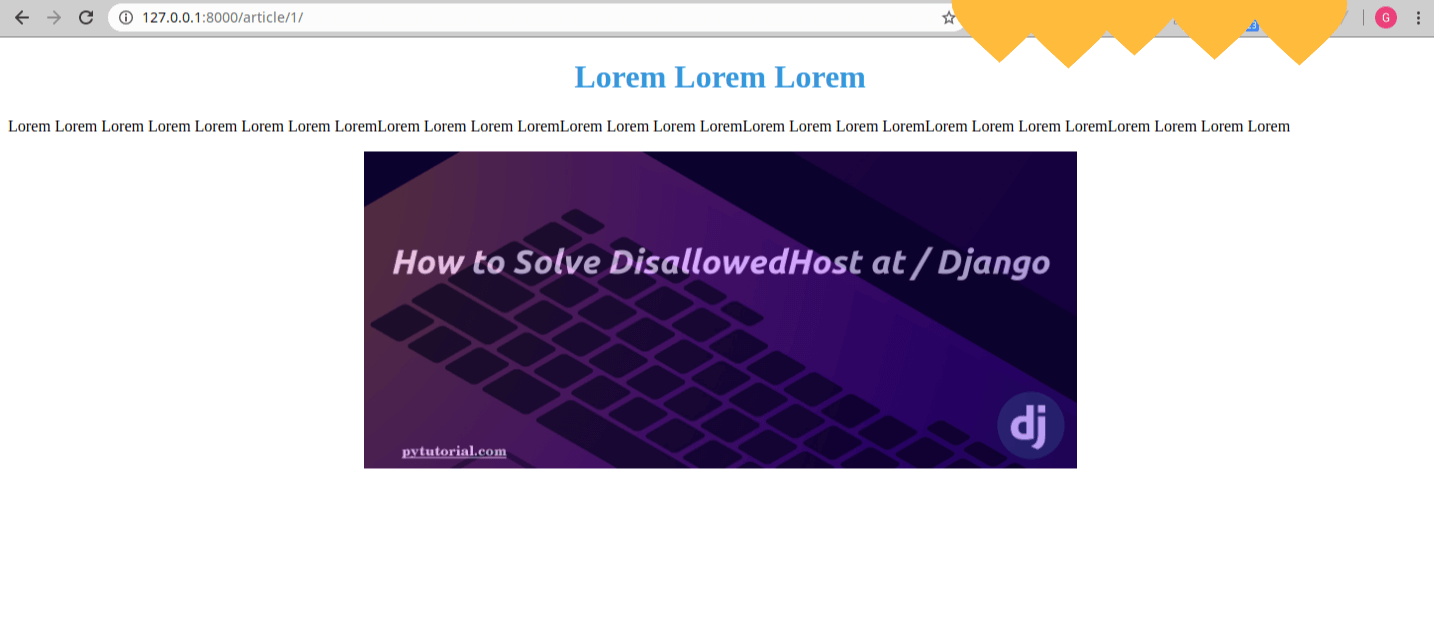
oriaaa! its working!
See you later.