Last modified: Jan 10, 2023 By Alexander Williams
How to Install and Set up Django Jet
Probably you are here because you want to change your Django admin interface, and in this post, we'll learn how to install and set up one of the best Django interface libraries (Django JET).
1. Django JET Features
- Bueautiful theme.
- Responsive layout.
- Customizable Dashboard.
- Customizable Dashboard.
- Great Documentation.
2. Django JET installation and setting up
install Django JET:
pip install django-jet
# or
easy_install django-jet
Add ‘jet’ application to the INSTALLED_APPS setting of your Django project settings.py file (before 'django.contrib.admin')
INSTALLED_APPS = (
    ...
    'jet',
    'django.contrib.admin',
    ...
)
Check out if django.template.context_processors.request context processor is enabled in settings.py (Django 1.8+ way):
TEMPLATES = [
    {
        'BACKEND': 'django.template.backends.django.DjangoTemplates',
        'DIRS': [],
        'APP_DIRS': True,
        'OPTIONS': {
            'context_processors': [
                ...
                'django.template.context_processors.request',
                ...
            ],
        },
    },
]
in your project urls.py add URL-pattern to the URL patterns:
urlpatterns = [
    ...
    path('jet/', include('jet.urls', 'jet')),
    path('admin/', admin.site.urls),
    ...
]
Migration:
python manage.py migrate jet
# or
python manage.py syncdb
If you are in the production environment, you should collect Django JET static.
python manage.py collectstaticDone!
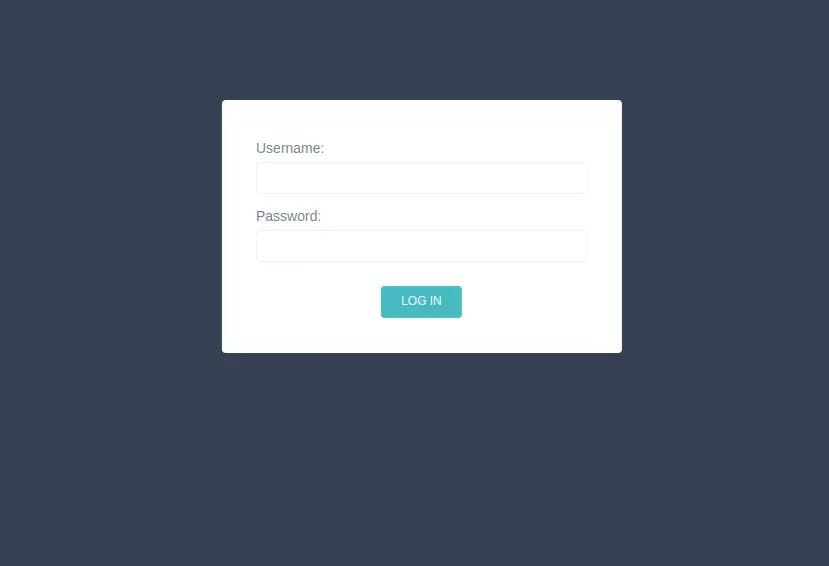
login page

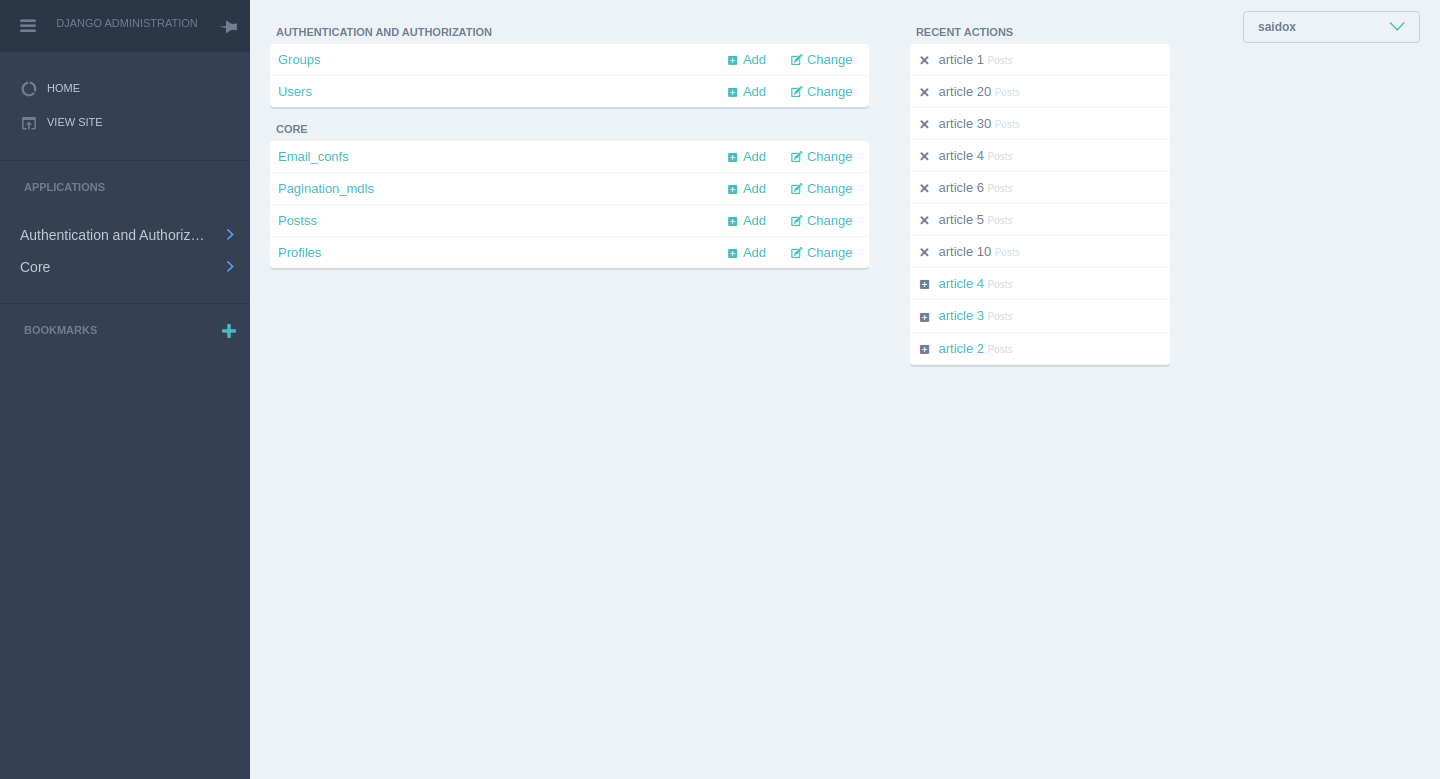
home page

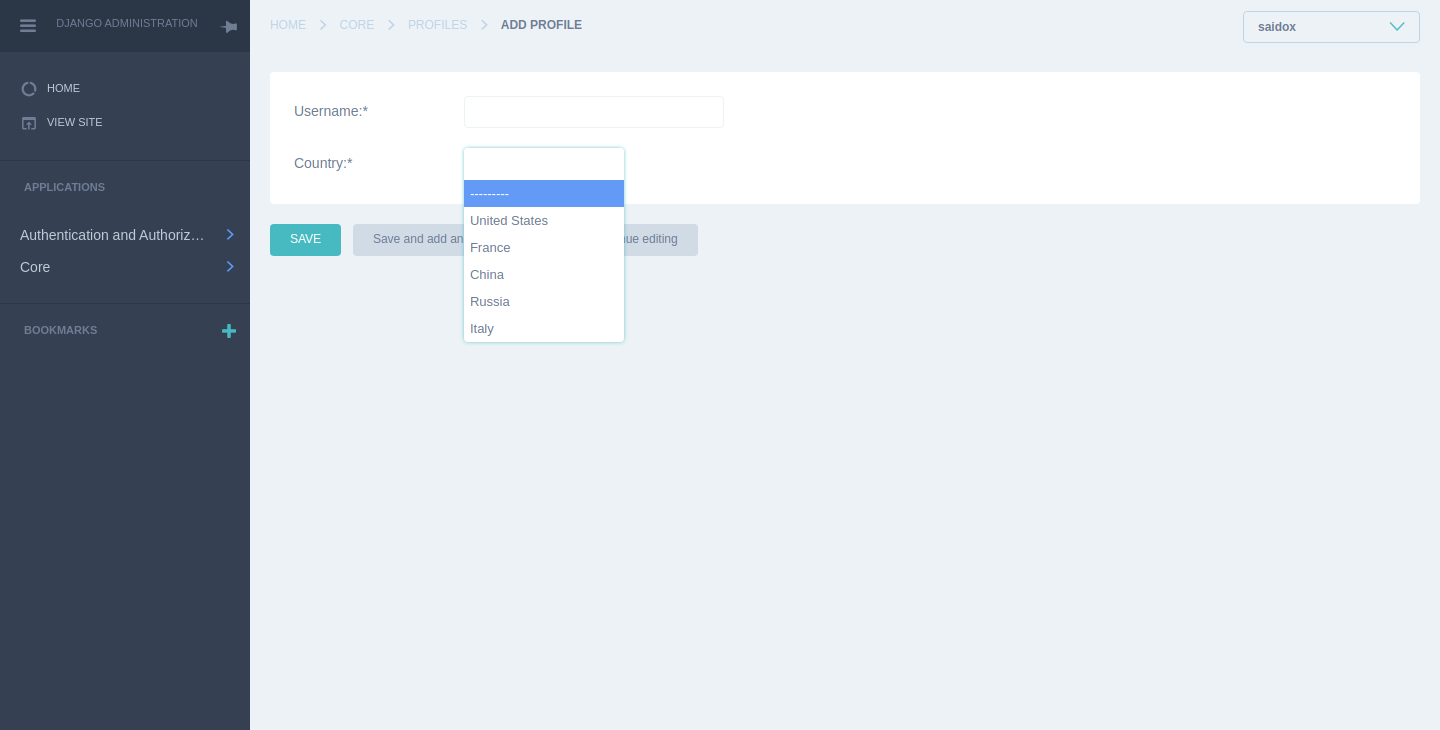
data addition
