Last modified: Feb 15, 2023
Python: Capture screenshot when the mouse is clicked
In this tutorial, we'll build a simple script that captures screenshots when the mouse right button is clicked. You can use this tool for example to track what others do on your PC.
Script requirements
To build the script, we need these two libraries:
- PyUserInput
- pyautogui
PyUserInput: we'll use it to detect the mouse clicks.
pyautogui: we'll use it to capture the screenshots.
Installation
Install PyUserInput:
pip install PyUserInputYou may also need to install need the following python modules.
For Linux:
- Linux - Xlib
For Windows:
- pywin32
- pyHook
For Mac:
- Quartz
- AppKit
Install pyautogui:
pip install pyautoguiBuild Screenshots taker
Now let's first write the code. Then explain it.
ScreenshotsTaker.py:
from datetime import datetime
from pymouse import PyMouseEvent
import pyautogui
import os


class ScreenshotsTaker(PyMouseEvent):

    def __init__(self, path):
        self.path = path # path to save Screenshot
        PyMouseEvent.__init__(self)

    def click(self, x, y, button, press):
        # if button number 1
        if button == 1:
            # if button number 1 is pressed (clicked)
            if press:
                # Take ScreenShot
                myScreenshot = pyautogui.screenshot()
                # Save ScreenShot file
                now = datetime.now()
                # Date Time Now
                dt_string = now.strftime("%d-%m-%Y_%H:%M:%S")
                # Save ScreenShot
                myScreenshot.save(os.path.join(self.path,dt_string + ".jpg"))
                # Output:
                print("ScreenShot is taken")


C = ScreenshotsTaker(path="/home/py/ScreenshotsTaker/screenshoots")
C.run()
Explanation:
First, we've created the Screenshots_taker class. Next in the built-in __init__() function we define the directory path for saving the screenshots. And, in the click method, when mouse button 1 (left button) is clicked, the program will capture and save the screenshot using date-time now as the name of the screenshots.
Here are the buttons numbers:
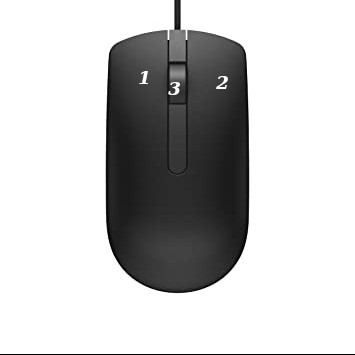
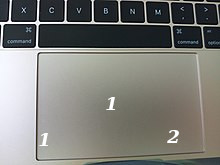
To initialize our script, we've defined an object for the ScreenshotsTaker class and passed our screenshots directory path. After that, we've called the run function.
Test the script
To run our script, whit this command:
python3 ScreenshotsTaker.pyOutput After the mouse is clicked:
ScreenShot is taken
ScreenShot is taken
ScreenShot is taken
ScreenShot is taken
the screenshots' folder:
ls /home/py/ScreenshotsTaker/screenshoots

29-06-2022_01:09:13.jpg
29-06-2022_01:09:14.jpg
29-06-2022_01:09:15.jpg
29-06-2022_01:09:16.jpg
Conclusion
In this tutorial, we've learned how to build a script to capture screenshots when the mouse right button is clicked.
Note that, you can also choose which button you want to detect as I mentioned above.
Happy Coding!