Last modified: Nov 15, 2024 By Alexander Williams
Convert Your Django Project to a Static Site and Host it for Free
Pytutorial.com was developed using Django and later converted to static files, enabling us to host it for free except for the yearly domain registration fee of $9, which brings many benefits.
- Fast loading speed
- Cost-effective hosting
- Enhanced security
- Improved SEO ranking
- Easy to maintain and update
- Accessible to a wider audience.
- An offline administration panel is more secure
- Less stress (This one can change your life)
The secret here is Django bakery. Django-bakery is a Django library that converts a Django project to static files. However, in this tutorial, we'll learn how to convert a Django blog to a static website.
Setting up Django blog
To make our tutorial very clear and understandable, let's build a simple Django blog:
Create a new Django project:
django-admin startproject myblogCreate a new app:
python manage.py startapp blogDefine the models:
class Post(models.Model):
    title = models.CharField(max_length=255)
    content = models.TextField()
    created_at = models.DateTimeField(auto_now_add=True)
    updated_at = models.DateTimeField(auto_now=True)
    slug = models.SlugField()

    def get_absolute_url(self):
        return reverse('post_detail', args=(self.slug,))

    def __str__(self):
        return self.title
Create Views:
from django.shortcuts import render
from django.views.generic import ListView, DetailView
from .models import Post

class PostListView(ListView):
    model = Post
    template_name = 'blog/post_list.html'
    context_object_name = 'posts'

class PostDetailView(DetailView):
    model = Post
    template_name = 'blog/post_detail.html'
    context_object_name = 'post'
Create URLs:
from django.urls import path
from core.views import PostListView, PostDetailView

urlpatterns = [
    path('', PostListView.as_view(), name='post_list'),
    path('<slug:slug>/', PostDetailView.as_view(), name='post_detail'),
]
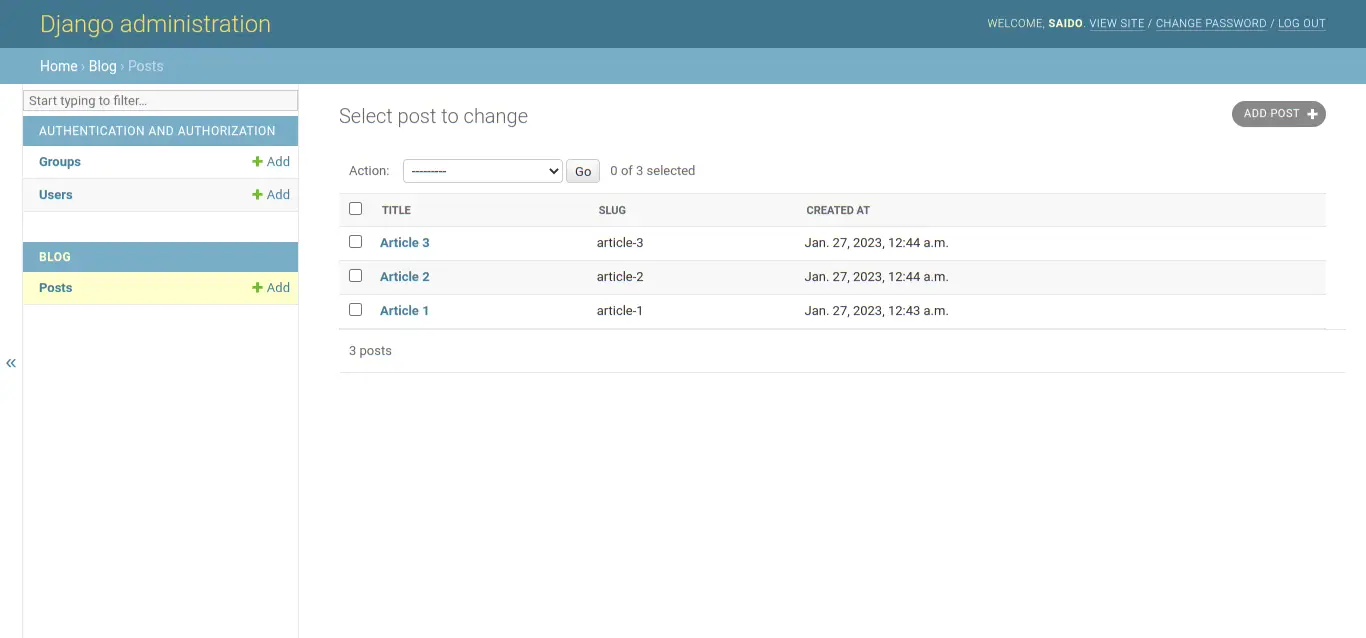
Add some articles:
Create Post list template:
<!-- blog/templates/blog/post_list.html -->

{% for post in posts %}
    <h2>{{ post.title }}</h2>
    <p>{{ post.content }}</p>
    <a href="{% url 'post_detail' post.slug %}">Read more</a>
{% endfor %}
Create Post detail templates:
<!-- blog/templates/blog/post_detail.html -->

<h1>{{ post.title }}</h1>
<p>{{ post.content }}</p>
Done! Now let's convert this simple blog to static files.
Converting Django blog to Static files
To convert our Django blog to Static files, we need to install Django-bakery:
pip install django-bakeryNext, we need to add 'bakery' to our INSTALLED_APPS setting in our Django project's settings.py file:
INSTALLED_APPS = [
    'django.contrib.admin',
    'django.contrib.auth',
    'django.contrib.contenttypes',
    'django.contrib.sessions',
    'django.contrib.messages',
    'django.contrib.staticfiles',
    #APPS
    'blog',
    'bakery',
]
Also, in settings.py, we need to set the build directory where the site will be built as flat files.
BUILD_DIR = 'build'And don't forget to define STATIC_ROOT:
STATIC_ROOT = "static_root"
Now, in views.py, we need to import the following bakery views:
from bakery.views import BuildableDetailView, BuildableListView- BuildableListView allows you to create a list view that can be built into static files.
- BuildableDetailView allows you to create a detail view that can be built into static files.
To convert our views to static files, we'll replace ListView with BuildableListView and DetailView with BuildableDetailView:
class PostListView(BuildableListView):
    model = Post
    template_name = 'post_list.html'
    context_object_name = 'posts'
    build_path = 'index.html'

class PostDetailView(BuildableDetailView):
    model = Post
    template_name = 'post_detail.html'
    context_object_name = 'post'
    slug_field = 'slug'
In settings.py, we need to define our BAKERY_VIEWS:
BAKERY_VIEWS = (
    'blog.views.PostListView',
    'blog.views.PostDetailView',
)
BAKERY_VIEWS: The list of views you want to be built out as flat files when the build command is executed.
python manage.py buildThis command will take the views specified in the BAKERY_VIEWS setting and use them to generate the corresponding HTML pages as static files. These files will be written to the location specified by the BUILD_DIR.
We can access the generated static files by visiting the build directory, as you can see below.
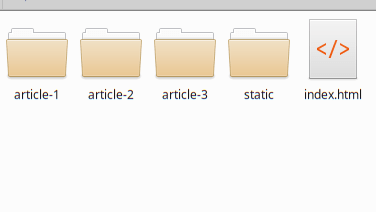
├── article-1
│   └── index.html
├── article-2
│   └── index.html
├── article-3
│   └── index.html
├── index.html
└── static
    └── admin
        ├── css
        ├── fonts
        ├── img
        └── js
Now The static files are ready to host in free hostings like Netlify or CloudFlare Pages.
Challenges And Solutions
I encountered several challenges working with Django-bakery, particularly when generating sitemaps and RSS feeds. By good luck, I succeeded in solving it.
This section will cover the solution of generating sitemap.xml and feed.xml for our blog.
Generate sitemap.xml
To generate the sitemap, we need to write a new class view:
class SitemapView(BuildableListView):
    model = Post
    template_name = "sitemap.xml"
    context_object_name = 'posts'
    build_path = "sitemap.xml"
content_type = "application/xml"- build_path: The path where the generated file should be saved
- content_type: The content type of the generated file
Don't forget to add a path for SitemapView:
path('sitemap.xml', SitemapView.as_view()),Also, you must add SitemapView to BAKERY_VIEWS in settings.py.
BAKERY_VIEWS = (
    'blog.views.PostListView',
    'blog.views.PostDetailView',
    'blog.views.SitemapView',
)
Now let's write our sitemap template:
<?xml version="1.0" encoding="UTF-8"?>
<urlset xmlns="http://www.sitemaps.org/schemas/sitemap/0.9">
<url>
<loc>https://domain.com</loc>
<lastmod>12-12-23</lastmod>
<changefreq>daily</changefreq>
<priority>0.9</priority>
</url>
{% for post in posts %}
<url>
<loc>https://domain.com/{{post.get_absolute_url}}</loc>
<lastmod>{{post.updated_at|date:'Y-m-d'}}</lastmod>
<changefreq>daily</changefreq>
<priority>0.9</priority>
</url>
{% endfor %}
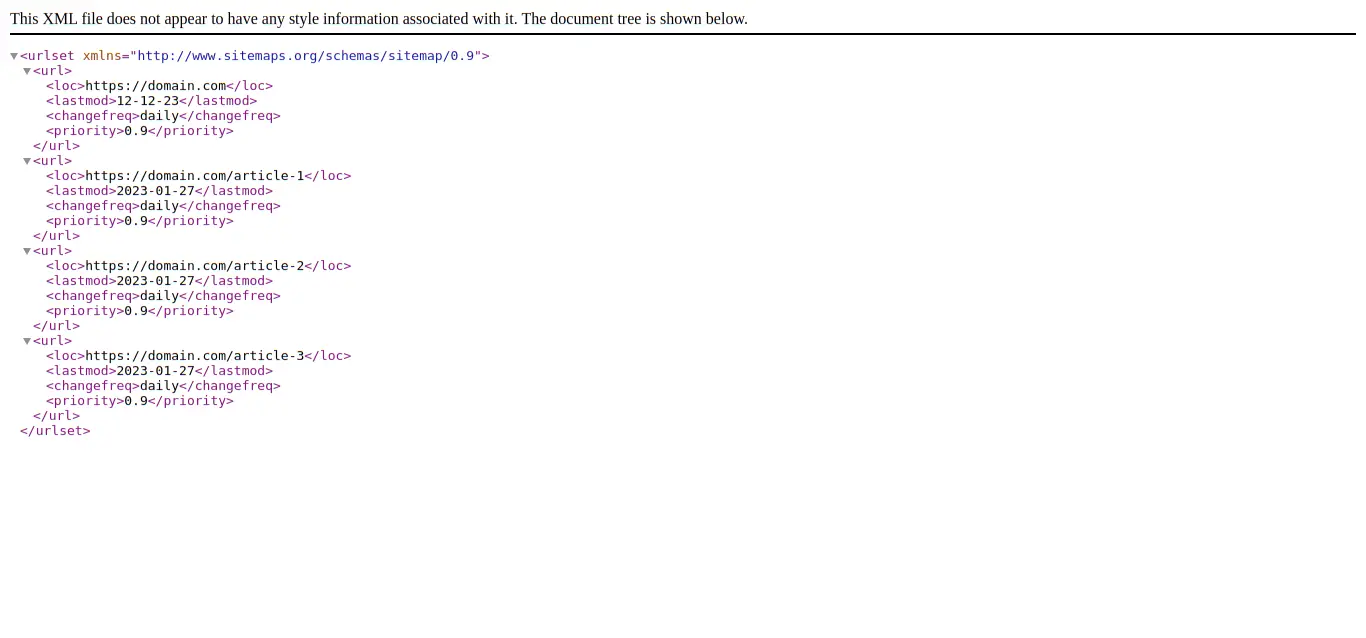
</urlset>This is the result:
Generate RSS feed
We will follow the same process for generating RSS feeds as we did for the sitemap.
class MyFeedView(BuildableListView):
    model = Post
    template_name = "feed.xml"
    context_object_name = 'posts'
    build_path = "rss.xml"
    content_type = "application/xml"
BAKERY_VIEWS = (
    'blog.views.PostListView',
    'blog.views.PostDetailView',
    'blog.views.SitemapView',
    'blog.views.MyFeedView',
)
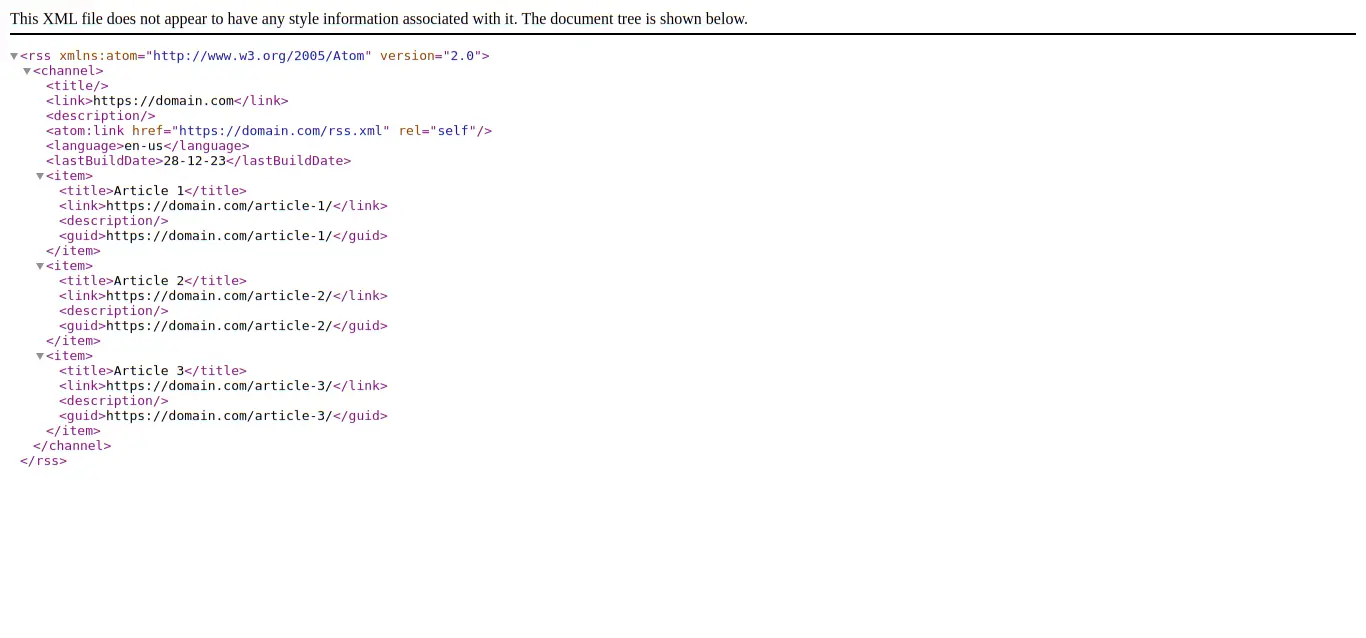
<?xml version="1.0" encoding="utf-8"?>
<rss version="2.0"
	xmlns:atom="http://www.w3.org/2005/Atom">
	<channel>
		<title/>
		<link>https://domain.com</link>
		<description/>
		<atom:link href="https://domain.com/rss.xml" rel="self"/>
		<language>en-us</language>
		<lastBuildDate>28-12-23</lastBuildDate>
        {% for post in posts %}
		<item>
			<title>{{post.title}}</title>
			<link>https://domain.com{{post.get_absolute_url}}</link>
			<description>{{i.title}}</description>
			<guid>https://domain.com{{post.get_absolute_url}}</guid>
		</item>
        {% endfor %}

	</channel>
</rss>
Generate robots.txt
Generating a robots.txt file with Django-bakery is easy. Add a robots.txt file to the static_root directory, which will automatically be copied to the home directory during the build process.
Now that we have added the robots.txt file, let's run the 'build' command to see the results.
python manage.py buildResult:
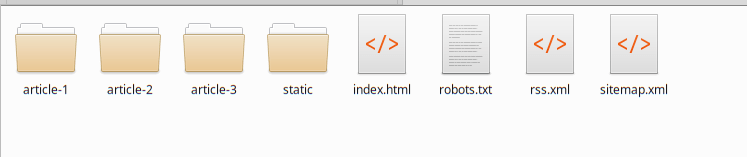
As you can see, the robots.txt, sitemap.xml, and rss.xml files have been generated.
Host Django blog for free
There are several free options for hosting a static website, such as GitHub Pages, GitLab Pages, Netlify, and CloudFlare Pages. I preferred the last one to host our Django blog.
So, first of all, we need to have an account in Cloudflare. After registering follow these steps:
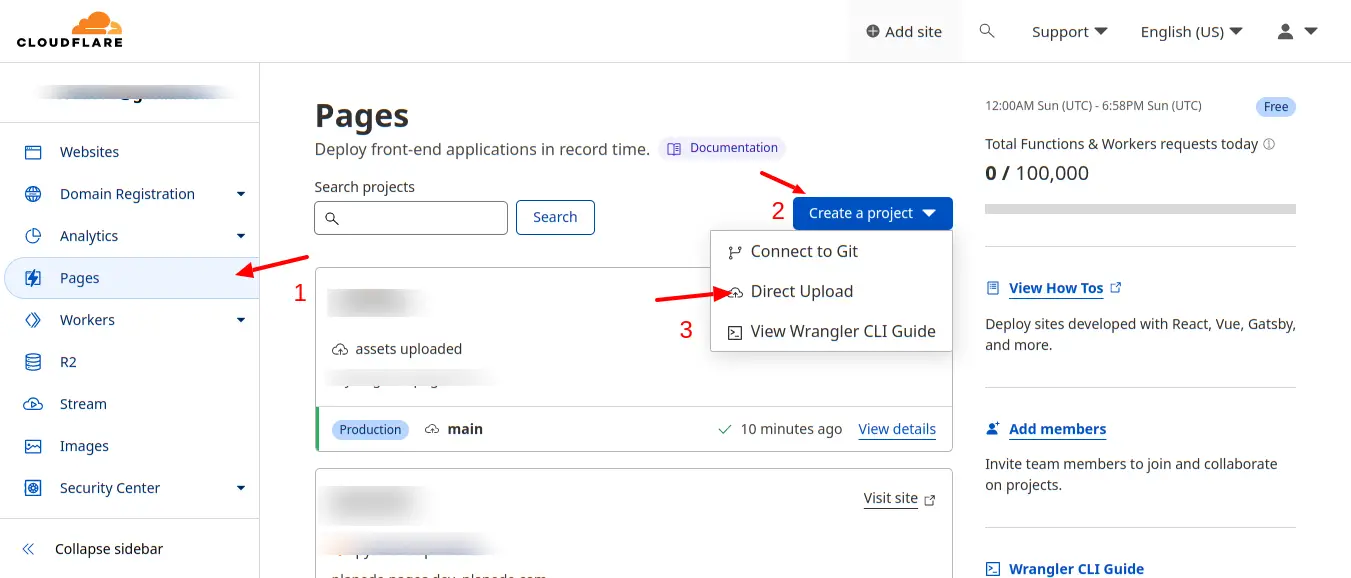
I have chosen Direct Upload because it's just a test website. If you have a website for production, I recommend you select Connect to git.
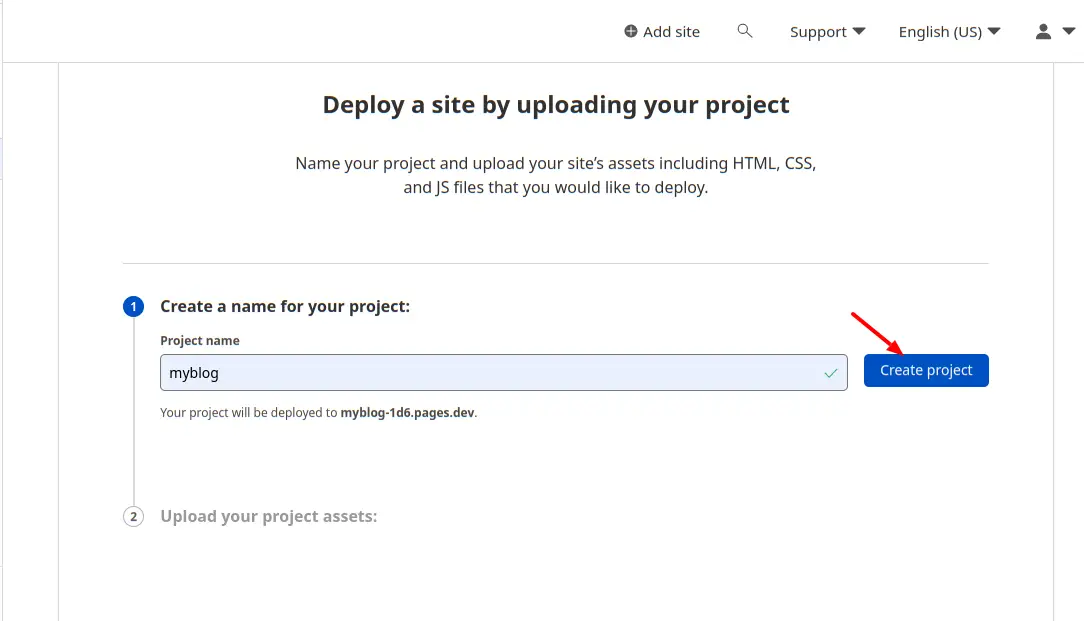
Next, We need to set the blog name and click Create Project :
Next, we will upload the files in the build directory:
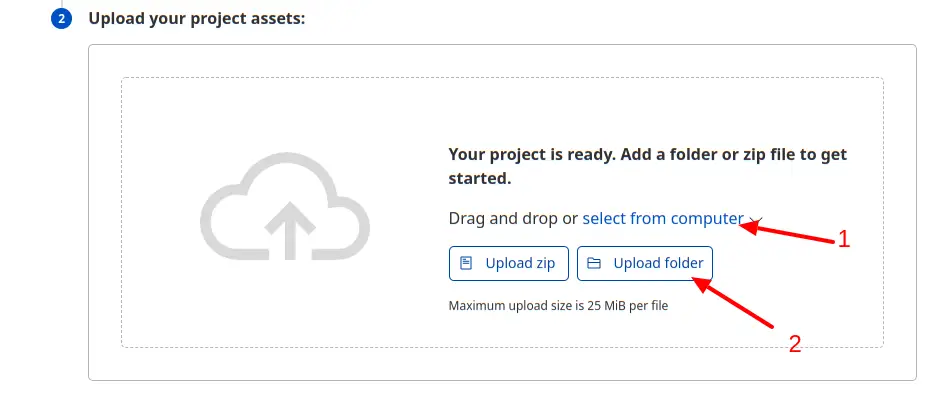
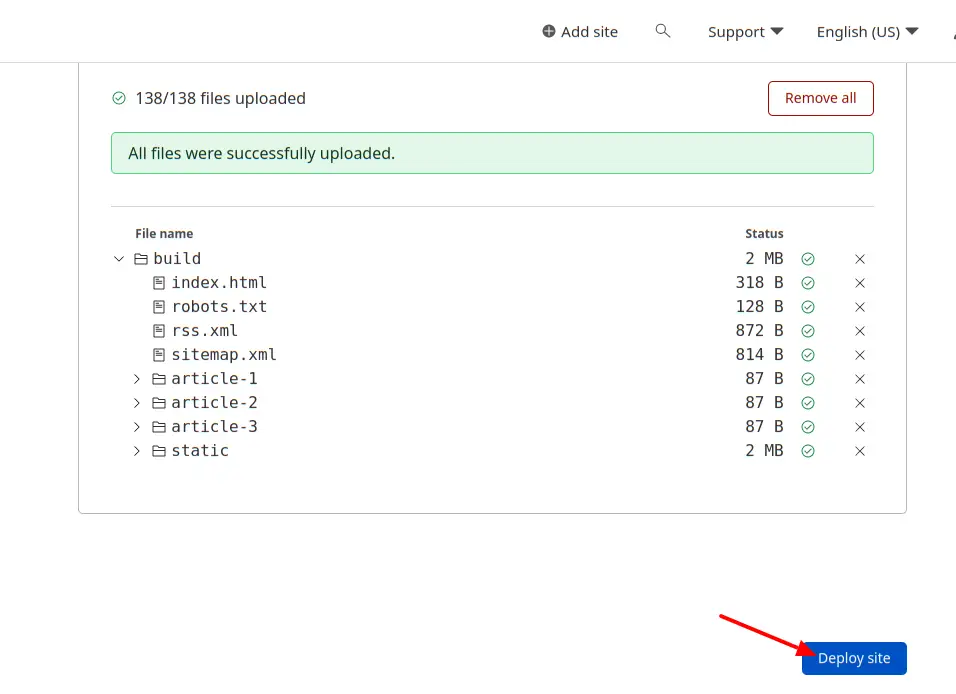
After uploading the files, we need to click Deploy Site, and congratulations! Our blog has been hosted for free.
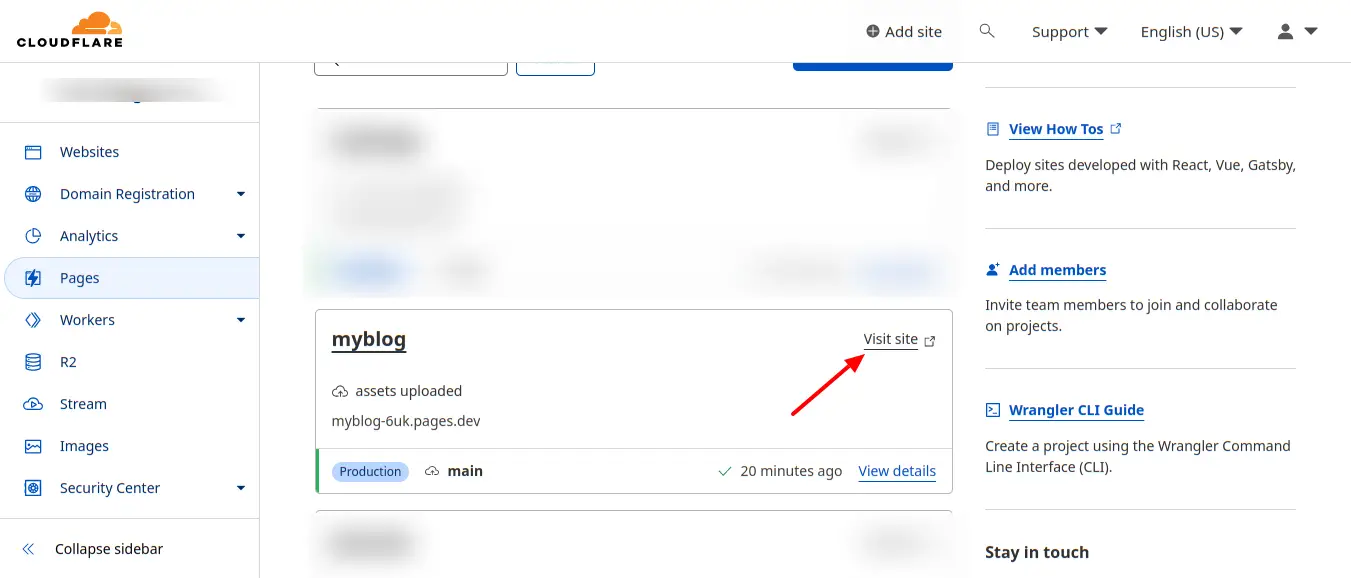
Click Visit or copy and paste the link below to see your site. As you can see, my blog link is myblog-6uk.pages.dev.
Conclusion
All right! in this article, we have built and converted a simple blog to static files. Also, we've hosted the blog for free using Cloudflare.
However, If you want to host a simple Django website such blog, portfolio or news, in that case, Static site is an excellent option because it offers a more secure hosting environment as they do not require a database or server-side scripting.