Last modified: Mar 10, 2023 By Alexander Williams
How to use render_template in Flask
The render_template function used to render HTML templates. It takes the template's filename as its first argument and a set of variables as the second argument.
In this tutorial, we will explore how to use render_template with examples to understand its functionality better.
How to Use render_template
In the following example, we'll create a simple home page using the render_template function. We'll write our code in our python file inside the flask app.
from flask import Flask, render_template


app = Flask(__name__)

@app.route('/')
def home():
    return render_template('index.html')


if __name__ == '__main__':
    app.run(debug=True)
In the above code, we've:
- Imported the flask module
- Imported the render_template function
- written the home page view.
- Rendered the
index.htmltemplate
By default, Flask looks for templates in a folder called "templates" or a subfolder. Therefore, we need to create a templates folder and an index.html file inside it.
Once the folder and file have been created, we can add some HTML code to the index.html file, as shown in the following example:
<!DOCTYPE html>
<html>
<head>
    <title>Hello, Flask!</title>
</head>
<body>
    <h1>Hello, Flask!</h1>
</body>
</html>
Once we open the URL for the home page in our browser, we should see the contents of the index.html file that we created earlier.
How to Use Variables with render_template
The render_template function provided by Flask is integrated with the Jinja2 template engine. With Jinja2, we can create templates using HTML and simple, dynamic expressions.
To illustrate this, let's modify the home view and see how we can return a variable using render_template.
@app.route('/')
def home():
    name = "Python"
return render_template('index.html', name=name)index.html:
<!DOCTYPE html>
<html>
<head>
    <title>Hello, Flask!</title>
</head>
<body>
    <h1>Hello, {{name}}!</h1>
</body>
</html>
In the code snippet above, we have set the name variable inside two placeholders in the index.html template file.
Result:

You can also return any data type. In this case, we'll return a list:
@app.route('/')
def home():
    names = ["Python", "PHP", "JS", "Go"]
    return render_template('index.html', names=names)
index.html:
<!DOCTYPE html>
<html>
<head>
    <title>Hello, Flask!</title>
</head>
<body>
  {% for name in names %}
    <h1>Hello, {{name}}!</h1>
  {% endfor %}
</body>
</html>
Result
Now, let's render a dynamic variable. In this context, a dynamic variable is one whose value is determined at runtime rather than being hard-coded into the source code.
Here is an example:
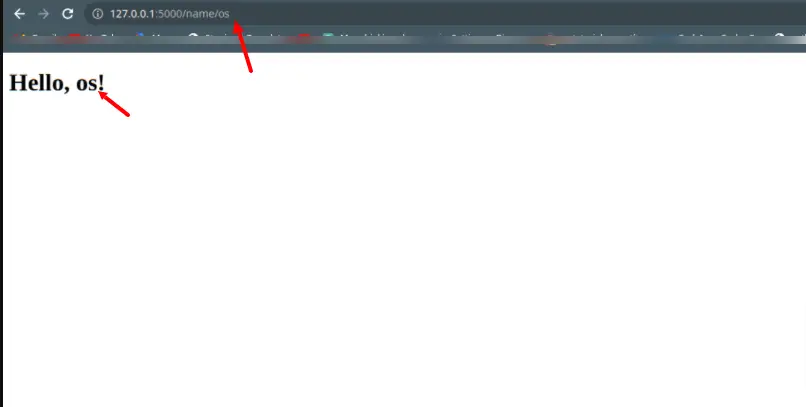
@app.route('/name/<name>')
def home(name):
    return render_template('index.html', name=name)
In this case, name is a dynamic variable passed as an argument to the home function. Its value is determined at runtime based on the URL route accessed by the user.
In index.html:
<!DOCTYPE html>
<html>
<head>
    <title>Hello, {{name}}!</title>
</head>
<body>

    <h1>Hello, {{name}}!</h1>

</body>
</html>
Result:

Moreover, we can also render a form into a template using the render_template function. Let's take a look at how this can be done.
from flask_wtf import FlaskForm
from wtforms import StringField, SubmitField

class MyForm(FlaskForm):
    name = StringField('Name')
    submit = SubmitField('Submit')

@app.route('/', methods=['GET', 'POST'])
def index():
    form = MyForm()
    if form.validate_on_submit():
        name = form.name.data
        return render_template('index.html', name=name, form=form)

    return render_template('index.html', form=form)
Index.html:
<!DOCTYPE html>
<html>
  <head>
    <title>My Form</title>
  </head>
  <body>
    <h1>Enter your name:</h1>
    <form method="POST" action="/">
      {{ form.csrf_token }}
      {{ form.name.label }} {{ form.name() }}
      {{ form.submit() }}
    </form>

    {% if name %}
    <h1>Hello, {{name}}!</h1>
    {% endif %}
  </body>
</html>
Here we:
- We define our
MyFormform - We define a new view to handle and render our form
- We write our form with the response message in
index.html
And this is the result:
render_template and Custom Error Pages
With Flask, we can define custom error pages using the render_template function. The following examples demonstrate how to create custom 404 and 500 error pages.
@app.errorhandler(404)
def page_not_found(e):
 return render_template('404.html'), 404


@app.errorhandler(500)
def internal_server_error(e):
 return render_template('500.html'), 500
Both views return error responses like regular view functions, including the appropriate status code for the error. Once we've defined the views, we can create 404.html and 500.html template files to customize the error pages as per our requirements.
Here is 404.html:
<!DOCTYPE html>
<html>
<head>
    <title>404 Error</title>
</head>
<body>

    <h1>Page is not Found</h1>

</body>
</html>
Here is 500.html:
<!DOCTYPE html>
<html>
<head>
    <title>500 Internal Server</title>
</head>
<body>

    <h1>Internal Server Error</h1>

</body>
</html>
When we try to access a URL not defined in our Flask application's routes, we will see the custom 404 error page we've created. On the other hand, if the app encounters any unexpected conditions or errors during runtime, it will display the custom 500 error page.
Conclusion
In this tutorial, we've explored how to use Flask's render_template function to render HTML templates and display dynamic data to users.
We've also seen how to create custom error pages to handle HTTP errors in a more user-friendly way.
Happy Coding.