Last modified: Mar 17, 2023 By Alexander Williams
Convert Image to Text with Flask (Source Code)
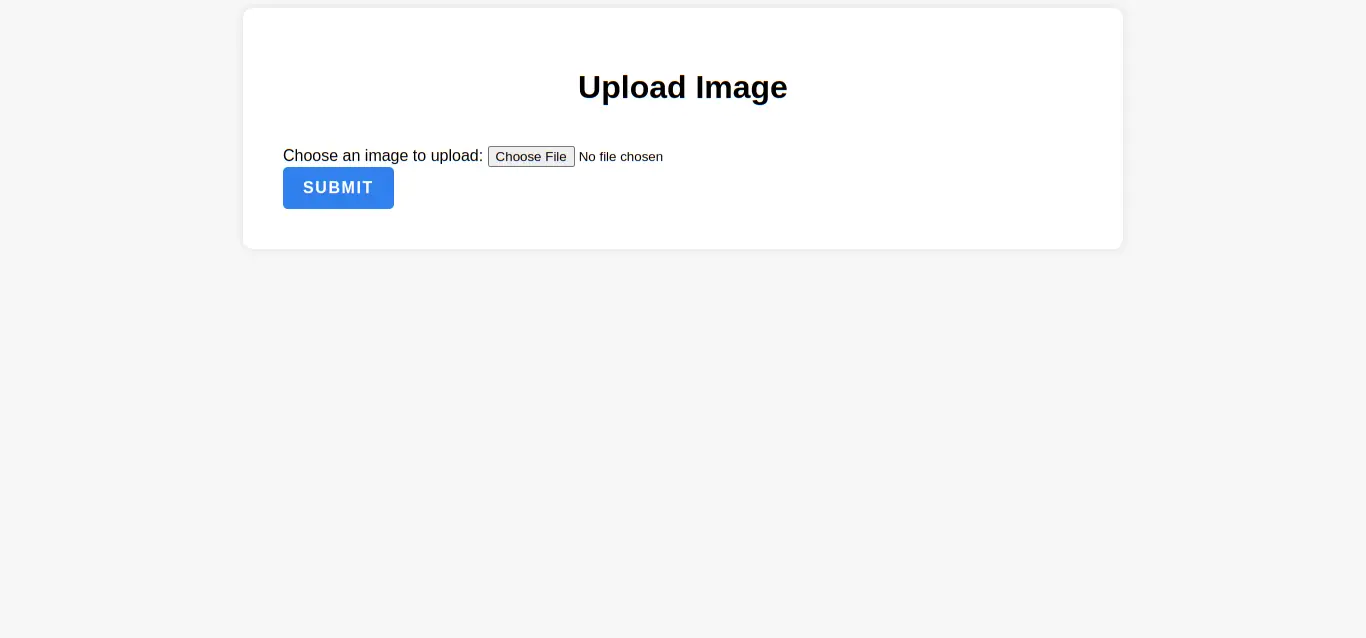
In this article, we will build a simple Flask project that can convert an image to text. Before we dive in, let's look at what the final project will look like.
Let's get started.
Setup Flask project
To begin, we need to set up our Flask project. Here is a step-by-step guide on how to create a Flask project from scratch:
1. Create a new virtual environment:
python3 -m venv env2. Activate the virtual environment:
source env/bin/activateActivate for windows:
env\Scripts\activate4. Install Flask using pip:
pip install FlaskDone
Install Requirements libraries
After setting up the Flask project, we need to install the necessary libraries for our project.
1. pytesseract
Pytesseract is a tool used to recognize and read text embedded in images. To install it using pip, run the following command:
pip install pytesseractAdditionally, you will need to install the pytesseract package on your system. For instance, on Ubuntu, you can install it by running the following command:
sudo apt-get install tesseract-ocrVerify that Tesseract OCR is installed correctly by executing the command:
tesseract --versionAdd the directory containing Tesseract's executable file to your system's PATH:
export PATH=$PATH:/usr/bin/If you are using Windows, this article will help you to install pytesseract's packages on windows.
2. PIL
PIL or pillow is a python library used in web development for processing and manipulating user-uploaded images and in scientific applications for working with image data.
To install PIL run the following command:
pip install pillowThat's it! We have now installed all the necessary libraries that we need.
Convert Image to Text
First, let's create a Python file within our Flask app and import the required modules:
from flask import Flask, request, jsonify
import pytesseract
from PIL import Image
import io
Next, we need to define a route that will render a form template to upload the image:
app = Flask(__name__)

@app.route('/')
def home():
    return render_template('index.html')
Next, we need another route that will process the image and return the text to a result template:
@app.route('/process_image', methods=['POST'])
def process_image():
    file = request.files['image']
    img = Image.open(io.BytesIO(file.read()))
    text = pytesseract.image_to_string(img)
    return render_template('result.html', text=text)
Don't forget to add the following code to the end of your file to enable debug errors:
if __name__ == '__main__':
    app.run(debug=True)
Here is the complete code:
from flask import Flask, render_template, request
from PIL import Image
import io
import pytesseract


app = Flask(__name__)

@app.route('/')
def home():
    return render_template('index.html')


@app.route('/process_image', methods=['POST'])
def process_image():
    file = request.files['image']
    img = Image.open(io.BytesIO(file.read()))
    text = pytesseract.image_to_string(img)
    return render_template('result.html', text=text)


if __name__ == '__main__':
    app.run(debug=True)
Finally, Create two templates: index.html and result.html.
index.html: for the form to upload the image:
<!DOCTYPE html>
<html>
  <head>
    <title>Upload Image</title>
  </head>
  <body>
    <h1>Upload Image</h1>
    <form method="POST" action="{{ url_for('process_image') }}" enctype="multipart/form-data">
      <input type="file" name="image">
      <button type="submit">Submit</button>
    </form>
  </body>
</html>
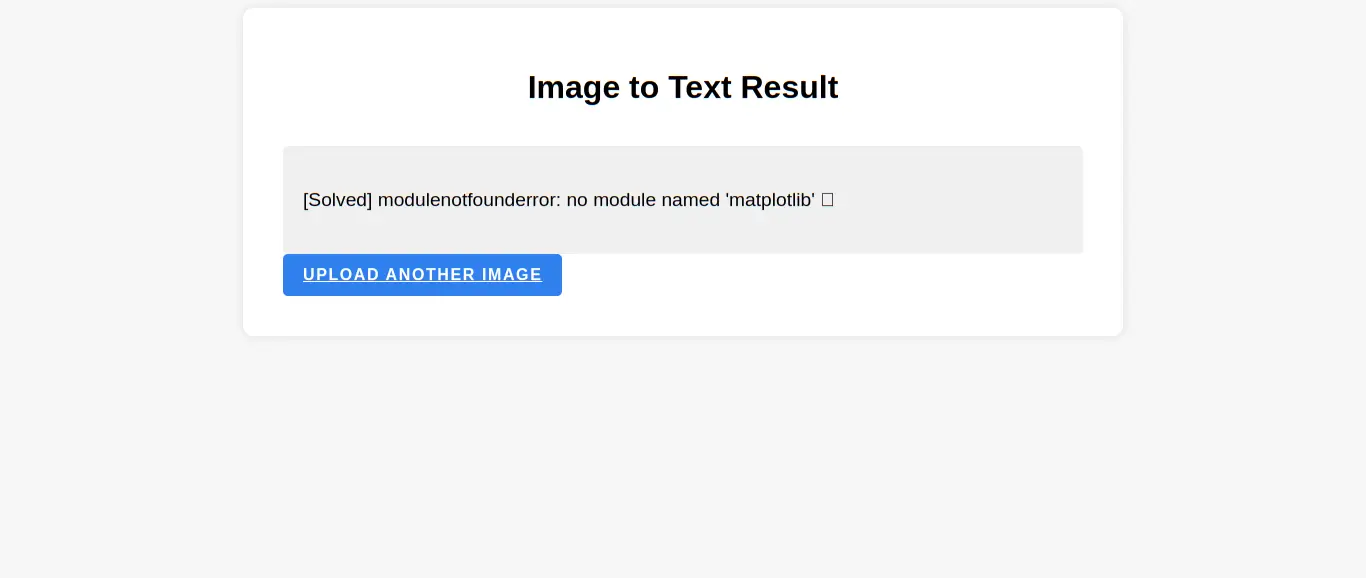
result.html: For displaying the extracted text:
<!DOCTYPE html>
<html>
  <head>
    <title>Upload Image</title>
  </head>
  <body>
    <h1>Upload Image</h1>
    <form method="POST" action="{{ url_for('process_image') }}" enctype="multipart/form-data">
      <input type="file" name="image">
      <button type="submit">Submit</button>
    </form>
  </body>
</html>
Now, let's style our app. Create a CSS file within your Flask app's static folder to style the home and result page. Then, add the following code to it:
body {
  font-family: Arial, sans-serif;
  background-color: #F7F7F7;
}

.container {
  max-width: 800px;
  margin: 0 auto;
  padding: 40px;
  background-color: #FFFFFF;
  box-shadow: 0px 0px 10px rgba(0, 0, 0, 0.1);
  border-radius: 10px;
}

h1 {
  font-size: 2rem;
  text-align: center;
  margin-bottom: 40px;
}

.result {
  background-color: #F0F0F0;
  border-radius: 5px;
  padding: 20px;
  margin-top: 20px;
  overflow: auto;
}

.result p {
  font-size: 1.2rem;
  line-height: 1.5;
}

.button {
  display: inline-block;
  padding: 12px 20px;
  background-color: #2F80ED;
  color: #FFFFFF;
  font-size: 1rem;
  font-weight: bold;
  text-transform: uppercase;
  letter-spacing: 0.1em;
  border: none;
  border-radius: 5px;
  cursor: pointer;
  transition: all 0.2s ease;
}

.button:hover {
  background-color: #1B5FAA;
}

.button:active {
  transform: translateY(1px);
}

.button:focus {
  outline: none;
  box-shadow: 0px 0px 5px rgba(0, 0, 0, 0.3);
}
After creating the CSS file, we need to link it with the home and result pages. You can achieve this by adding the following code to your HTML files:
<link rel="stylesheet" href="{{ url_for('static', filename='css/style.css') }}">Test Image to Text with Flask app
To test our app, we will use three images containing text.
Here is the first image:
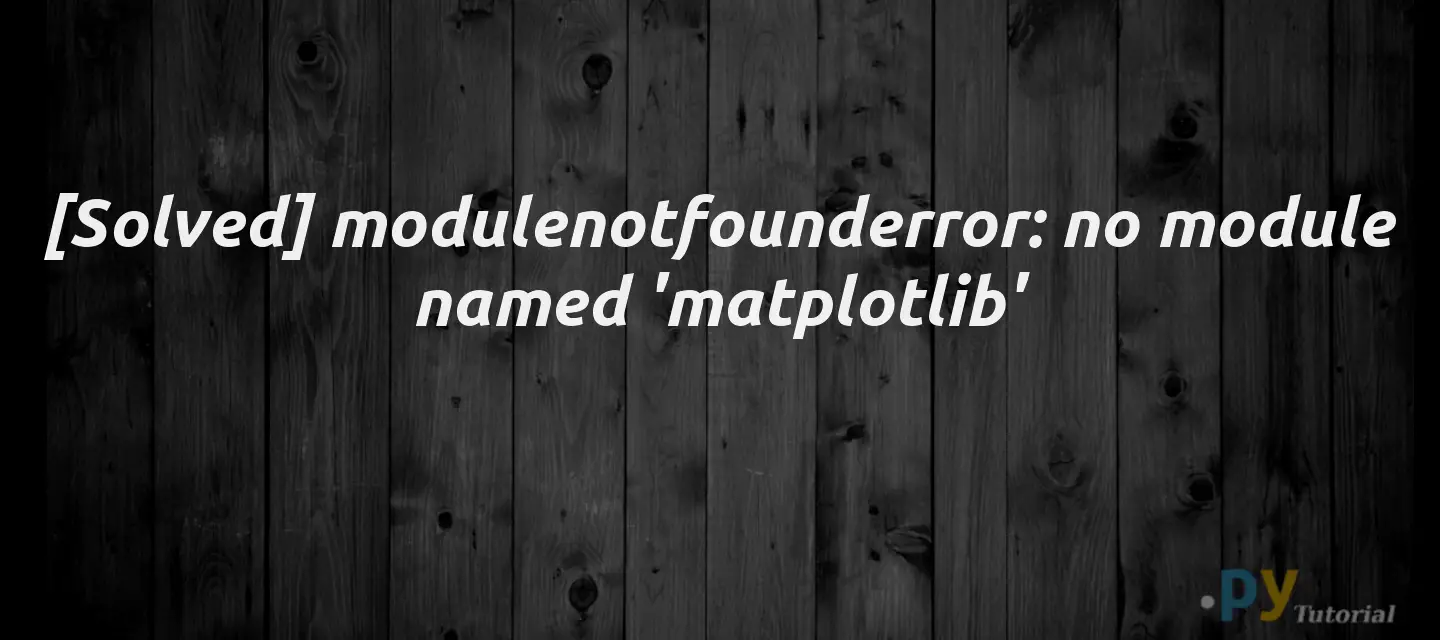
Image-to-Text Conversion Result:
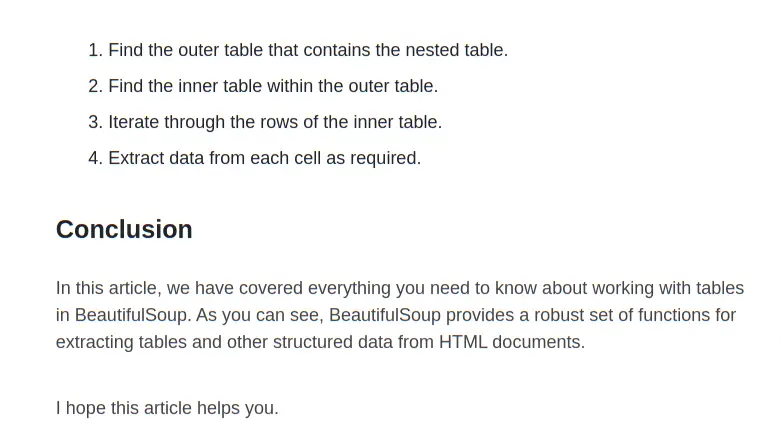
Here is image 2:
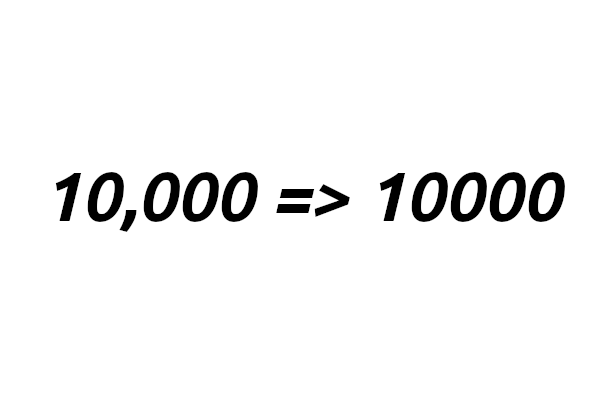
Result:
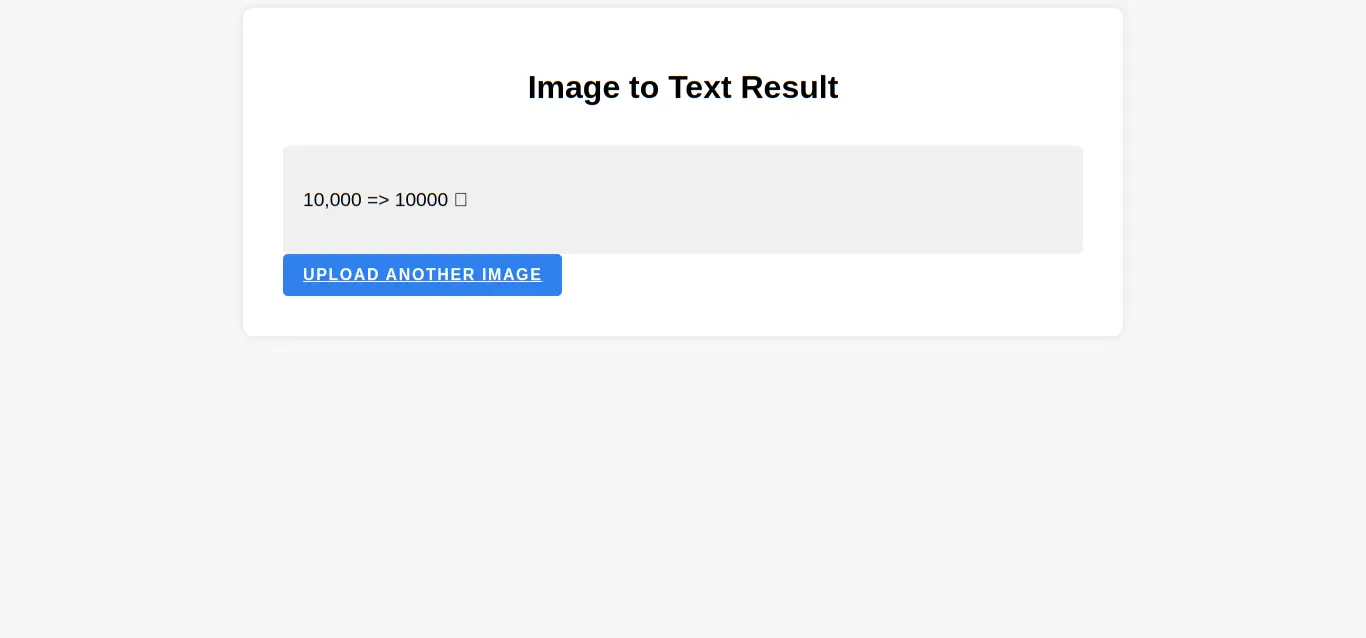
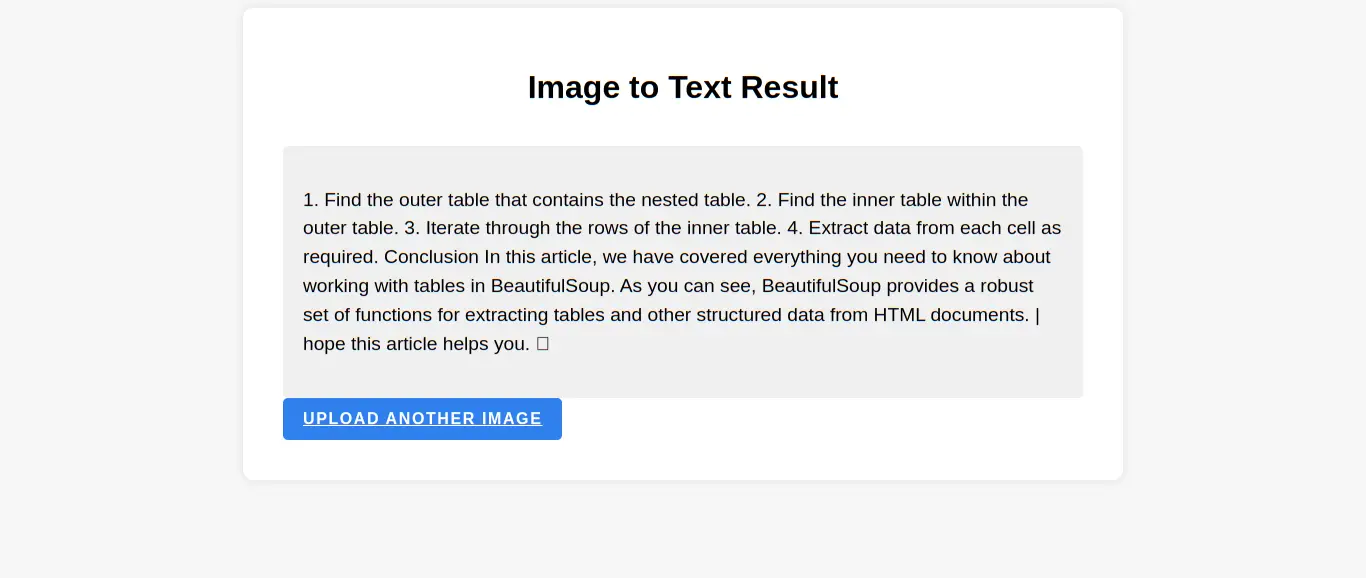
Image 3:
 Result:
Conclusion
In this tutorial, we have built a simple flask app that converts an image to text. This app is a helpful tool for anyone who needs to extract text from images quickly and efficiently.
This project Is available on GitHub. You can download it here.